


Where to place security cameras: the right coverage, every time
A $500 camera in the wrong position will outperform a $2,000 camera pointed at the sky. Placement is the single most impactful decision in any security system, and it's one of the most commonly done wrong.
Here's how to get it right.
The golden rules
- Mount at 2.4 to 3m height: high enough to avoid tampering, low enough to capture facial detail
- Angle downward at 15 to 30° for optimal face and body coverage
- Avoid pointing directly into the sun or bright light sources as this washes out the image
- Cover entry and exit points first: front door, back door, garage, side gates
- Ensure overlapping coverage between cameras with no blind spots at transition points
Priority zones: where to start
Zone 1: entry points (highest priority)
- Front door
- Back door
- Side gates
- Garage entry
These are where 90% of break-ins occur. Every entry point should have dedicated coverage with a camera capable of capturing facial detail at the point of entry.
Zone 2: perimeter (high priority)
- Driveway
- Front yard / street view
- Fence lines
- Parking areas
Perimeter cameras act as early warning. They detect approach before an intruder reaches an entry point, giving you time to respond and creating a deterrent effect.
Shop best outdoor security cameras
Purpose-built for Australian conditions. UV-rated, weatherproof, and night-vision ready.
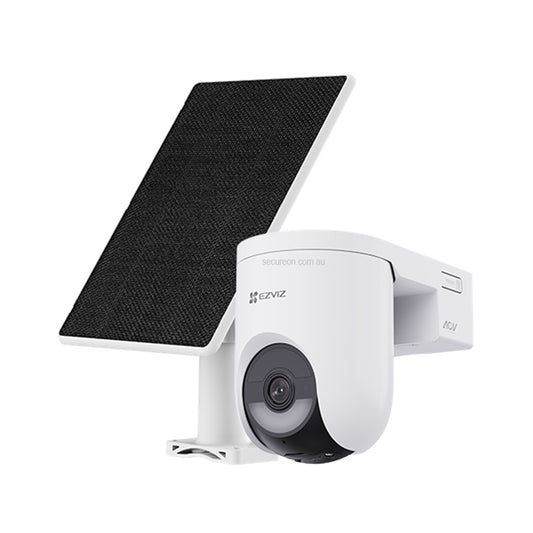
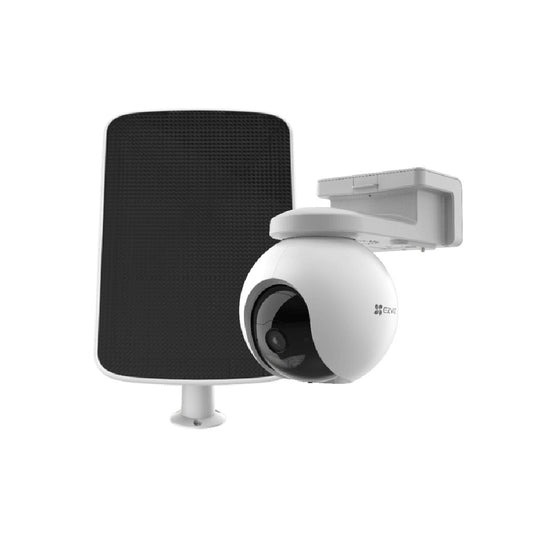
- EZVIZ 3MP Outdoor Wi-Fi 6 Camera Solar Kit CS-EB3/SP: wire-free and solar-powered, ideal for driveways and fence lines with no power access
- EZVIZ Two-in-One Outdoor Floodlight Security Camera LC1C: built-in floodlight for active deterrence at entry points and car parks
- Hikvision 8MP Outdoor AcuSense Bullet Camera DS-2CD2T86G2-2I: high-resolution bullet camera with AI human/vehicle detection, perfect for perimeter coverage
- HiLook 6MP IntelliSense AI Fixed Bullet Camera IPC-B261H-MU: cost-effective AI bullet camera for fence lines and rear yards
- Dahua 4MP Starlight+ AI IP Bullet Camera DH-IPC-HFW5442TP-AS-LED-0280B: full-colour night vision with built-in mic, ideal for entry points requiring facial detail
Browse all outdoor security cameras →
Zone 3: interior (medium priority)
- Living areas
- Hallways
- Stairwells
- Server rooms or cash areas (commercial)
Interior cameras provide evidence if a perimeter breach occurs. For most residential installs, 1 to 2 interior cameras are sufficient.
Common placement mistakes
| Mistake | Why it's a problem | Fix |
|---|---|---|
| Mounted too high (4m+) | Faces unidentifiable, wide angle lost | Drop to 2.4 to 3m |
| Pointing into sunlight | Image washed out during peak hours | Reposition or use WDR camera |
| Covering only the front | Side/rear entry unmonitored | Add perimeter cameras |
| No overlap between cameras | Blind spots at transitions | Adjust angles for 10 to 15% overlap |
| IR reflection off walls | Overexposed white areas at night | Angle away from close surfaces |
| Camera visible and reachable | Vandalism risk | Mount higher, use vandal-resistant housing |
Residential layout: suggested starting point
For a typical 3 to 4 bedroom home:
- 2 x entry point cameras (front & back door)
- 1 x driveway/garage camera
- 1 x side gate or rear yard camera
- 1 x interior hallway camera (optional)
Total: 4 to 5 cameras, 8-channel NVR recommended.
Shop recommended recorders
Pair your cameras with a reliable NVR for 24/7 local recording and remote access.
- Hikvision 8 Channel AcuSense M-Series NVR DS-7608NI-M2-8P: 4K recording, 8 built-in PoE ports, ideal for 4 to 8 camera residential systems
- Hikvision 8 Channel AcuSense M-Series NVR DS-7608NI-M2-8P (4TB HDD): same as above with 4TB storage pre-installed, ready to record out of the box
Browse all IP security cameras →
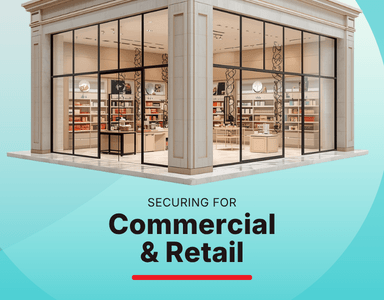
Commercial layout: suggested starting point
For a small retail or office premises:
- 2 x external entry cameras (front & rear)
- 1 x car park / loading bay
- 2 x internal (POS area, stockroom or server room)
- 1 x reception or lobby
Total: 6 cameras minimum, 8 to 16 channel NVR recommended.
Not sure where to start?
Our team offers free system design advice. Tell us your property type and we'll recommend camera count, placement, and the right kit for your budget.
📞 Call 1300 888 767 or visit secureon.com.au
Secure On Australia. 100% Aussie stock, free shipping on orders $200+, professional installation available.